
In today’s digital age, having a personal or business website is no longer a luxury—it’s a necessity. Whether you’re a freelancer, small business owner, blogger, student, or hobbyist, creating a website can open up a world of opportunities. The good news is that you don’t need to spend a dime to get started. Yes, it’s absolutely possible to create a professional-looking website for free!
In this comprehensive guide, we’ll walk you through every step of creating a free website, even if you have zero technical knowledge. Let’s dive in!
1. Why Create a Free Website?
Creating a free website has several benefits:
-
No upfront cost – Great for beginners and small businesses.
-
Quick to launch – Go live in just a few hours.
-
Practice & learning – Perfect for experimenting with web design.
-
Online presence – Share your work, ideas, or services.
A free website allows you to test the waters before investing in a paid domain or hosting service.
2. Choosing the Right Platform
Several platforms offer free website building tools. The most popular ones include:
| Platform | Best For |
|---|---|
| Wix | Drag-and-drop builder, very visual |
| WordPress.com | Blogging and content-heavy sites |
| Weebly | Simple e-commerce or portfolios |
| Google Sites | Easy internal or personal projects |
| Webflow | Advanced design control |
Recommendation for Beginners:
Start with Wix or WordPress.com for ease of use and excellent design options.
3. Planning Your Website
Before you build, plan:
-
Purpose – Is it a blog, portfolio, business, or resume?
-
Target audience – Who are you trying to reach?
-
Content – What pages and information will you include?
Example structure:
-
Home
-
About
-
Services or Portfolio
-
Blog
-
Contact
Sketch a rough layout on paper to guide your design process.
4. Signing Up for a Free Website Builder
Let’s take Wix as an example.
Steps:
-
Visit www.wix.com
-
Click on “Get Started”
-
Sign up with Google, Facebook, or email.
-
Answer a few questions (optional).
-
Choose between Wix ADI (automated design) or manual editor.
Wix ADI is great for absolute beginners as it builds a site based on your answers. The manual editor gives you full control.
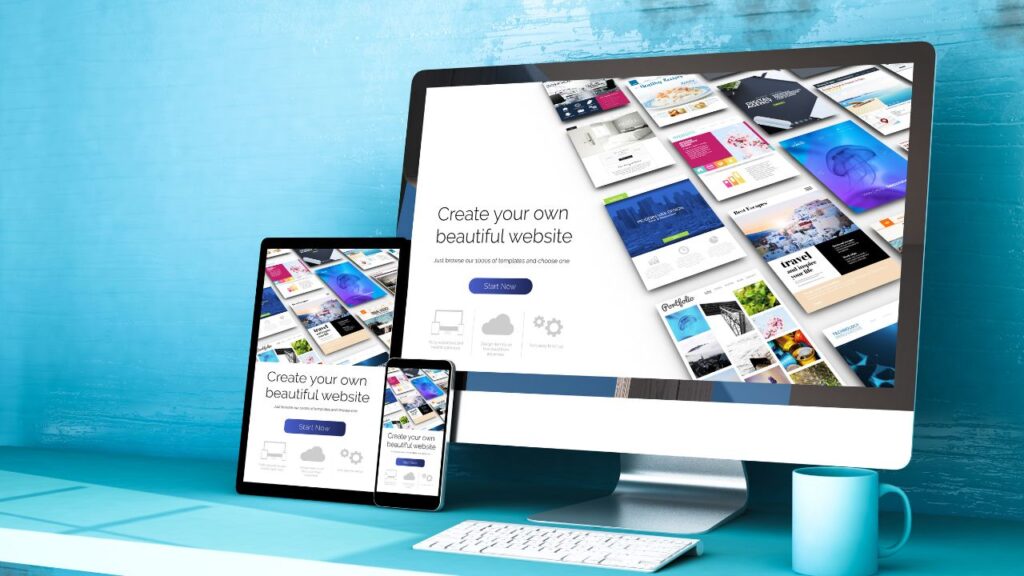
5. Picking the Perfect Template
Templates are pre-designed layouts for different types of websites.
What to Look For:
-
Clean and responsive design
-
Matches your brand or niche
-
Easy navigation
-
Built-in sections for the content you plan to add
Once selected, you can customize fonts, colors, images, and layout.
Tip: Don’t get overwhelmed. You can always change your template or tweak it later.
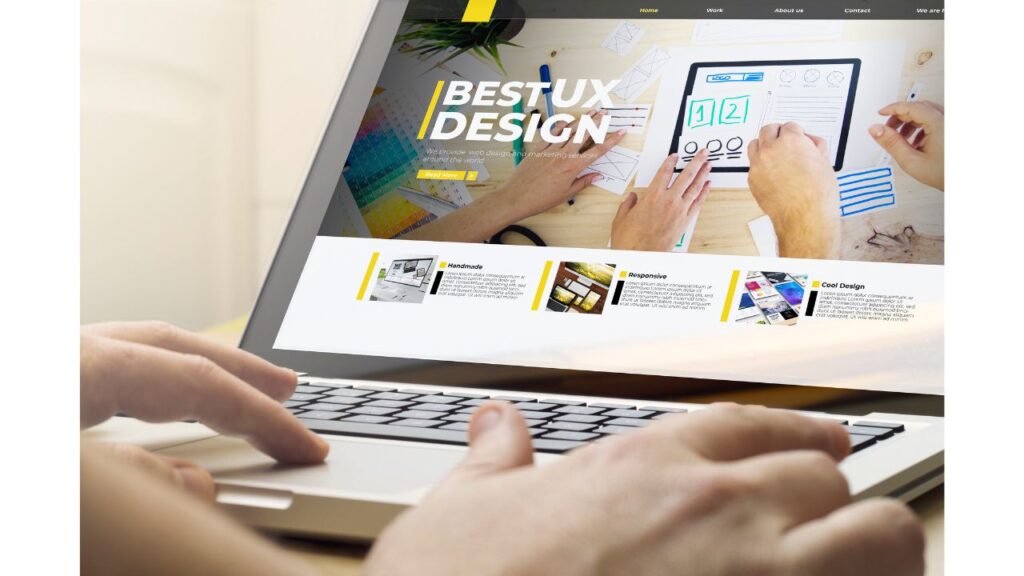
6. Customizing Your Site
This is where your website comes to life.
Customization Tasks:
-
Add your logo or name
-
Change the theme colors to match your brand
-
Edit text: Add your business name, mission, or personal bio
-
Upload images: Use your own or pick from free libraries
Common Tools:
-
Drag-and-drop elements
-
Add sections (About, Testimonials, Gallery)
-
Insert social media buttons
-
Add call-to-action buttons (e.g., “Contact Me” or “Book Now”)
Spend some time here to make your website visually appealing.
7. Adding Pages and Content
Content is what brings users to your site. Start with the basics:
Must-Have Pages:
-
Home – Clear overview with a strong first impression.
-
About – Your story or company background.
-
Services/Portfolio – What you offer or showcase your work.
-
Blog – Optional, but great for SEO and updates.
-
Contact – Email, phone, location, or contact form.
Content Tips:
-
Use clear headlines
-
Keep paragraphs short
-
Add relevant images
-
Use bullet points for readability
Write for your audience, not yourself. Focus on how you can help them.
8. Optimizing for Mobile
Over 60% of web traffic comes from smartphones. Luckily, most free builders offer mobile-responsive templates.
Check and Adjust:
-
Preview your site on mobile view
-
Ensure buttons are easy to tap
-
Text is readable without zooming
-
Navigation works smoothly
Many platforms let you customize the mobile version separately.
9. Setting Up SEO Basics
SEO (Search Engine Optimization) helps your website appear on Google.
Basic SEO Checklist:
-
Add a site title and meta description in settings
-
Use keywords related to your niche
-
Name your images with relevant terms
-
Create a custom URL for each page
-
Connect to Google Search Console
Free website builders usually include basic SEO tools—use them!
10. Publishing Your Website
Ready to go live?
Steps:
-
Click on “Publish”
-
Choose a free subdomain (e.g., yourname.wixsite.com)
-
Wait a few seconds—it’s now live!
Note: Your site will have the platform’s branding (e.g., “Powered by Wix”), which is standard for free plans.
11. Promoting Your Website
Once live, it’s time to share it with the world!
Promotion Tips:
-
Share on social media (Facebook, Instagram, LinkedIn)
-
Add the link to your email signature
-
Post your link in relevant forums or communities
-
Create business cards with your website
-
Submit to Google My Business if it’s a local biz
You can also run free promotions using platforms like Medium, Quora, and Reddit.
12. Pros & Cons of Free Websites
Pros:
-
No cost to start
-
Quick setup
-
Good for beginners
-
Great for learning & testing
Cons:
-
Platform branding (ads or watermarks)
-
Limited customization
-
Subdomain (no .com or custom URL)
-
Limited storage and bandwidth
-
No access to advanced SEO or analytics
Still, for starters, a free site is more than enough to build your presence.

13. Upgrading in the Future
Once your site starts getting traction, consider upgrading:
-
Custom domain (e.g., www.yourname.com)
-
Remove ads and branding
-
More storage and bandwidth
-
E-commerce capabilities
-
Advanced marketing tools
Plans typically start from $3 to $10 per month depending on the platform.
14. Final Thoughts
Creating a website used to be complicated and expensive. Today, thanks to modern website builders, you can create a fully functional website without writing a single line of code or spending any money.
By following this step-by-step guide, you now have everything you need to build your own free website and start building your online presence. Whether you want to showcase your talent, promote your brand, or just try something new, the digital world is wide open—and you’re ready to step into it.
Quick Recap Checklist:
-
Choose the right platform
-
Plan your content
-
Select a suitable template
-
Customize layout and design
-
Add essential pages and content
-
Optimize for mobile and SEO
-
Publish and promote your site
Ready to Launch Your Free Website?
Don’t wait for the “perfect time.” The best time to start is now. Take that first step, and in just a few hours, you’ll have a live website to call your own.